Tips For Installing A Ground Rod For Your Electric Fence

When working on ground rod installation for your electric fence setup, there are two major considerations that will determine the effectiveness:

1. How Conductive The Soil Is

Dry soil simply cannot conduct electricity in a way that is going to effectively run your fence. If you live in an area that is typically arid, you’re going to want to approach grounding your fence differently than someone who gets a decent amount of rainfall each year. You’ll want to install more grounding rods to get the most bang for your buck.

2. What Type Of Animal You’re Corralling

Depending on what livestock you’re keeping in, you may require multiple grounding rods, based on the amount of current you’re sending out from your charger. Smaller, docile animals require less current than larger, mobile animals.

Without proper grounding, your fence will not be effective. A common misconception is that the electric circuit is complete when the animal touches the fence. That’s simply not true. The completion of the circuit relies on proper grounding.

When your livestock comes into contact with the fence, the charge travels from the charger, through the fence line, through the animal, through the ground that the animal is standing on, into the grounding rod, and finally back into the charger. Only at that point is the electricity able to conduct through the animal.

The biggest decision you’re going to make during ground rod installation is whether you want a hot/ground fence or an all-live fence.

In a hot/ground fence, alternating wires are live and grounded. This bypasses the ground rod, which may be ineffective due to dry soil. The circuit is completed between two wires of the fence, on of which leads directly back to the charger box.

With All-Live Fencing, You’ll Follow A More Traditional Grounding Procedure:

  1. Select a location that is near the charger box, away from other grounding systems (such as the home), and will receive moisture.
  2. Pound the correct number of 6’ rods approximately 10’ apart, until only 4 inches remain above ground.
  3. Create an electric series between the rods using joint clamps and insulated cable.
  4. Connect the insulated cable back up the the charger box, according to manufacturer instructions.

Related Posts

How To Set Up An Electric Fence

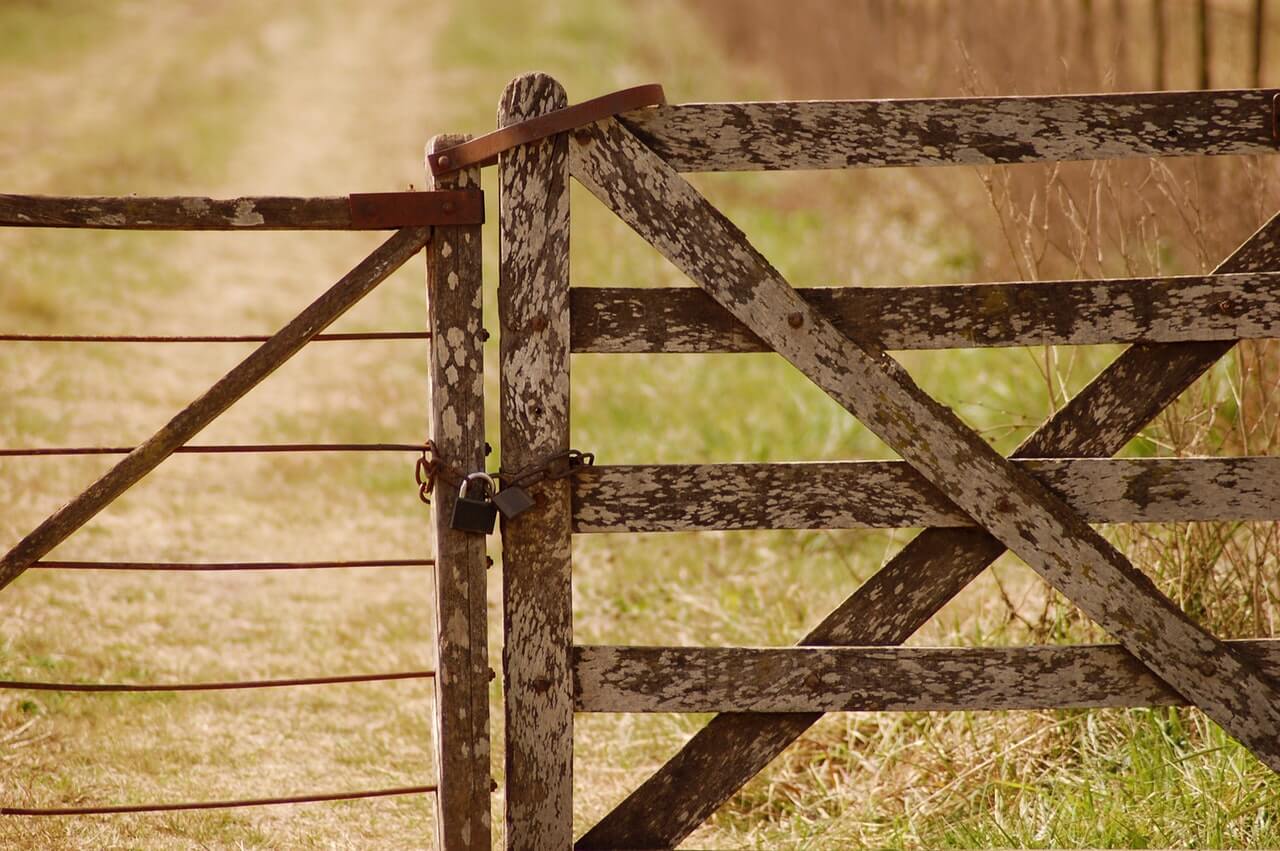
Establishing a durable and reliable electric fence is your best choice for keeping livestock in and predators out. Proper installation is the key. We’ve rounded