Your electric fence charger is the reason that electric fencing is effective. Keeping it in prime working order is the key to successful fence operation.
Keep these points in mind:
1. Keep The Charger Protected
You’ll want to keep it in area that is protected from the elements, such as a small shed or awning. The only exception to this rule is if you are using a solar powered charger. In that case, you’ll want to install it in a location that receives the most sunlight throughout the day.
2. Keep The Charger Close To A Power Source
You’ll also need to keep it close to its power source (again, unless you’re using a solar powered charger). Typically, this is a 110-volt outlet. Most chargers come in a housing case equipped with a nail hanger. Hang the nail or screw close enough to the power source so that the charger is off of the group, but still reaches the outlet.
3. Be Very Careful When Grounding The Charger
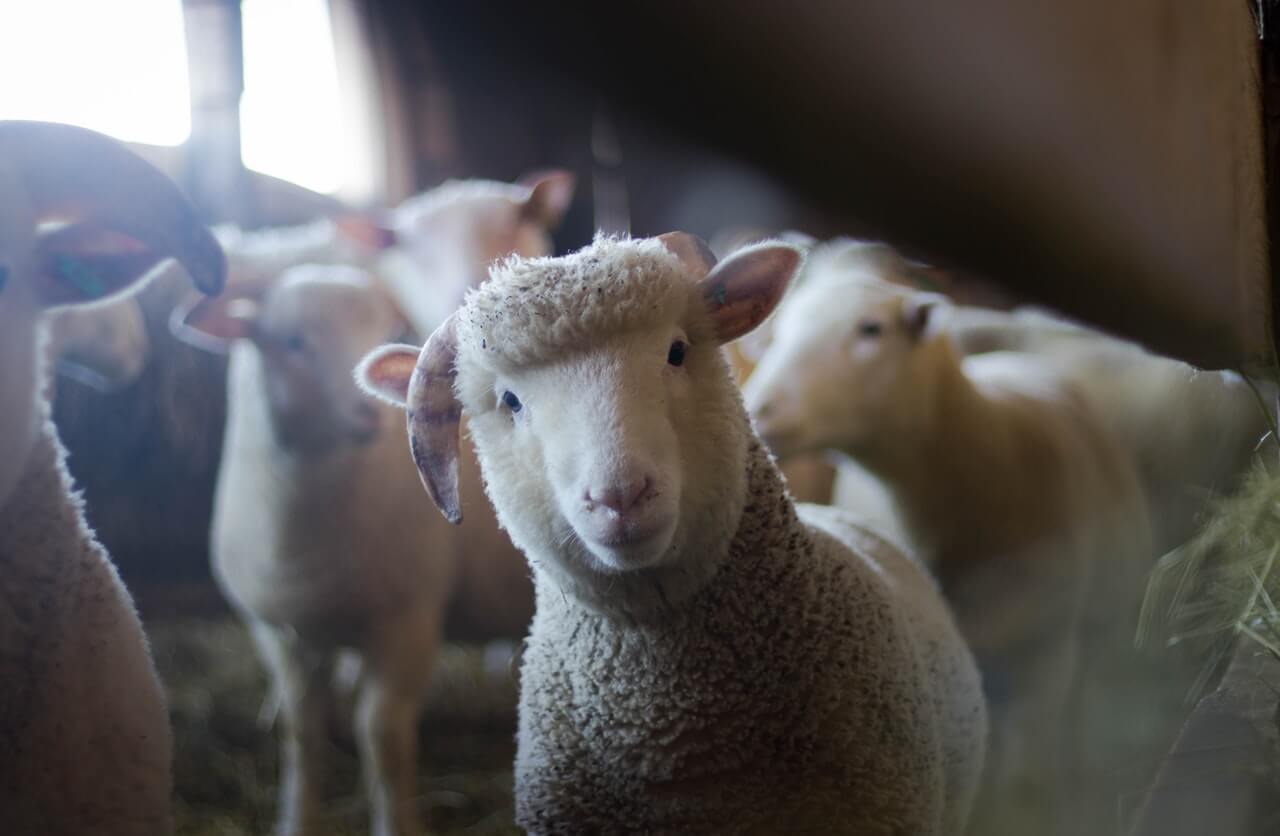
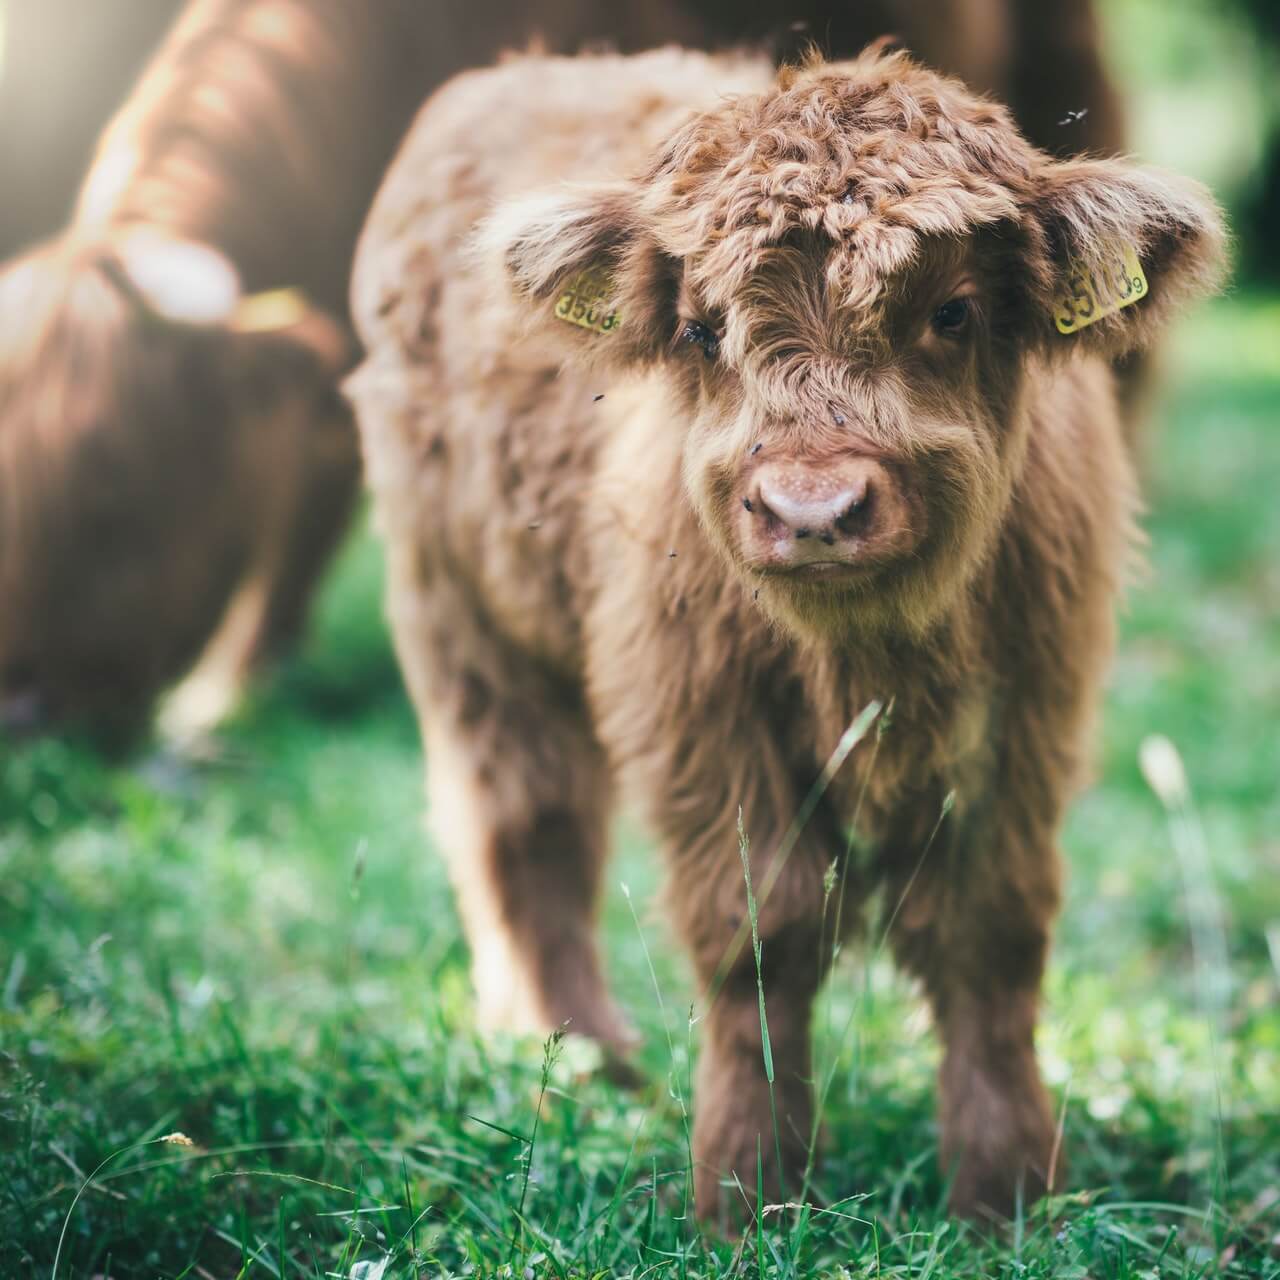
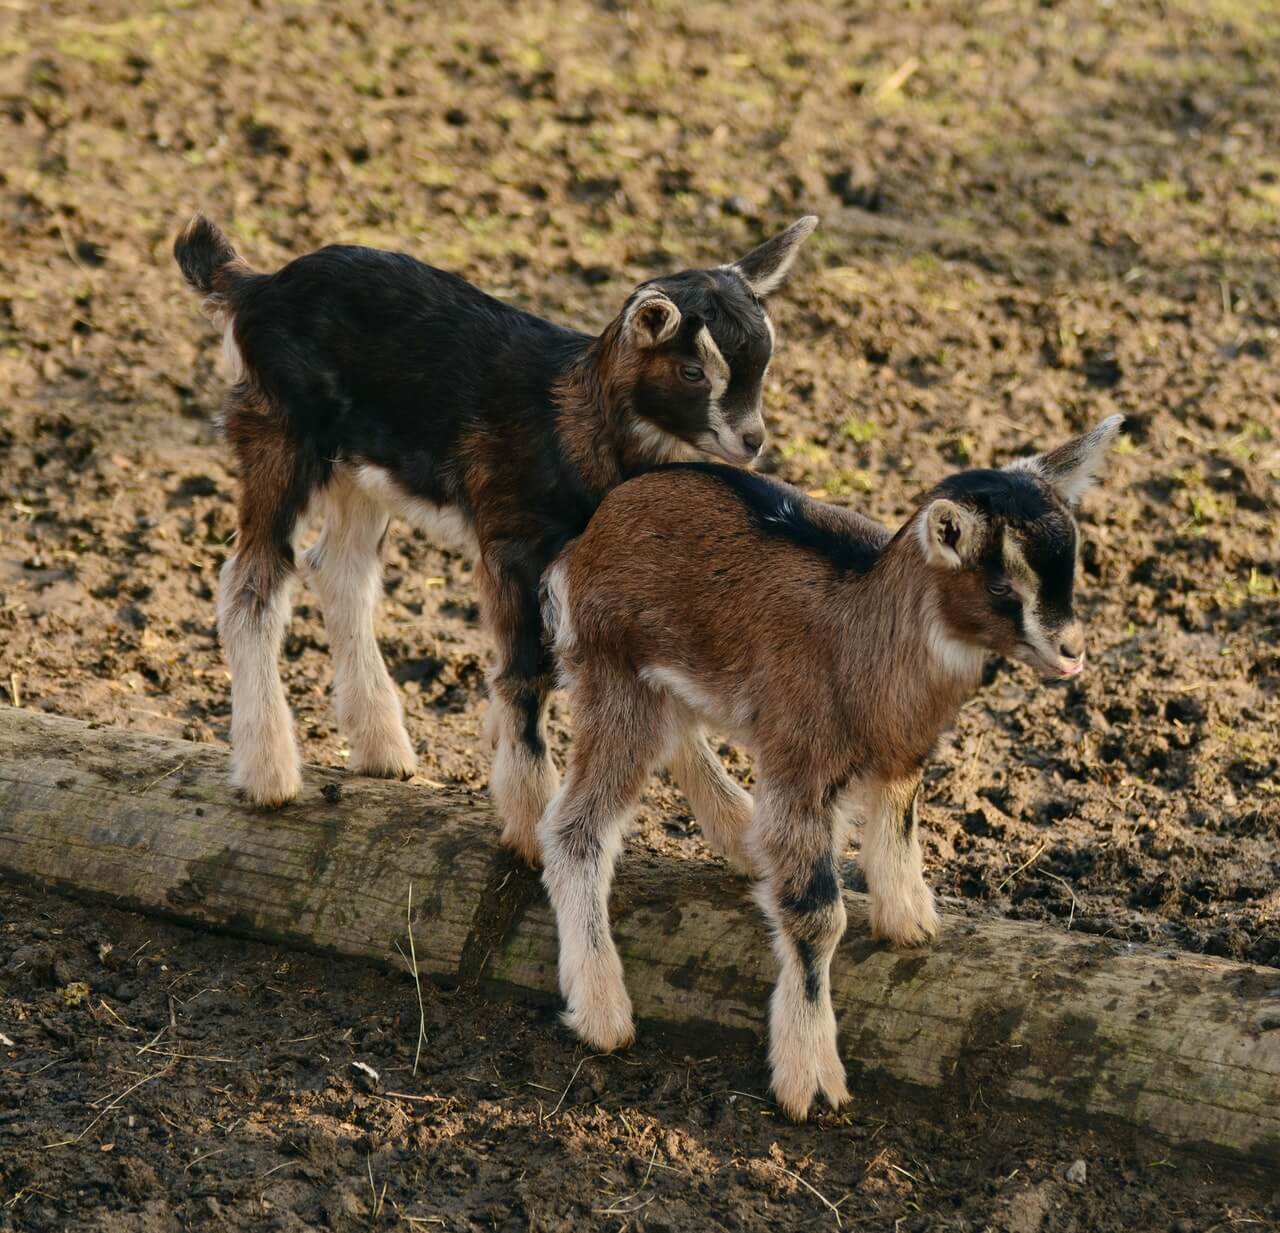
Proper grounding of your electric fence charger is critical to the safety of your animals and effectiveness of the fence. Using 6’ galvanized steel grounding rods, pound one into the ground until at least 2” are still above ground. Do this again 10 feet away from the original. Wire these posts to the negative terminal on your charger. Your positive wire will connect directly to your fence line.
HOW TO DEAL WITH DRY GROUND
An issue that you may encounter once your charger is up and running is that it’s less effective during the dry season. Dry ground is much less effective in completing the necessary circuit for your fence to work. In order to combat this, your setup will look a little different.
Usually, when an animal touches a all hot fence, in which all the wires are live, the charge travels out from the charger, into the wires, into the animal. At this point, the animal still doesn’t feel a shock. The charge has to travel back out of the animal, into the ground, into the grounding posts, then back into the charger box. At this point, the circuit is complete, and the fence does its job.
In the case of a dry area, you’re going to want to forgo all all hot fence and opt for a hot/ground fence. Installation is basically the same. You’ll follow the same rules for grounding poles, installation of the charger, etc. The biggest difference is that every other wire on your fence line won’t be charged.
Start from the top, making the first wire hot, the second ground, and so on. Clamp all of the ground wires together with galvanized wire, then connect them to the grounding system. In this setup, the completed circuit is being made between the hot wire, the animal, and the grounding wire, without the need to rely on soil moisture for reliability.